How to Schedule appointments
You can distinguish tasks and appointments in the Scheduler view by different background color: appointments are blue, tasks are grey.
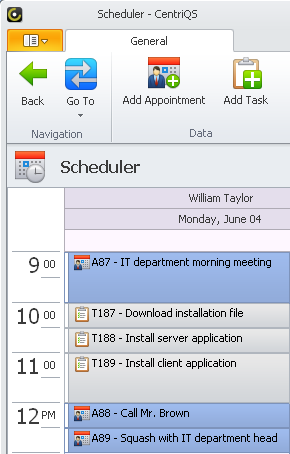
Setting Scheduler view
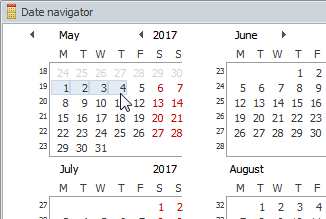
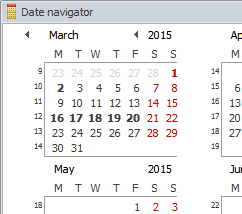
You can use the Date Navigator pane to display required date or date range in the Scheduler view.
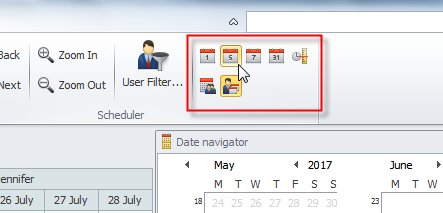
You can use commands on the ribbon to display different types of calendar. For example, you can click Workweek to show 5-day calendar (Monday - Friday).
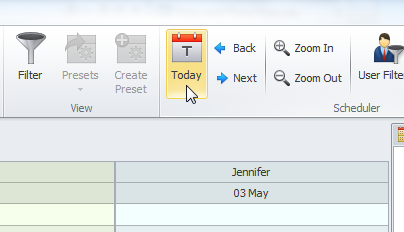
To show the current date in the Scheduler view, click Today on the ribbon.
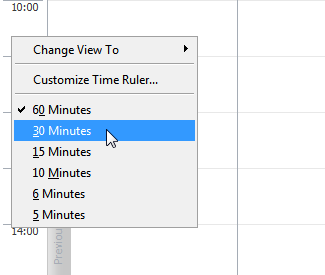
To change time interval of the Day calendar, right-click the Time Ruler, and then click the required time interval.
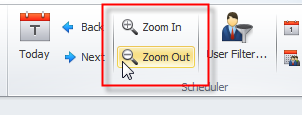
Tip You can also click Zoom In and Zoom Out on the ribbon to change the time scale in the Scheduler view.
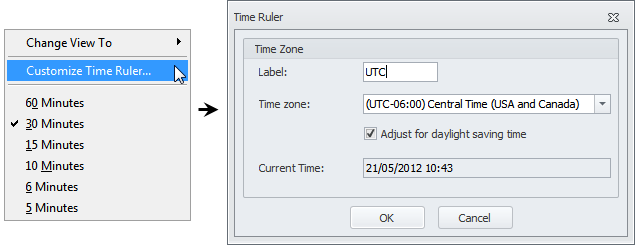
To change Time Zone settings, right-click the Time Ruler, click Customize Time Ruler, and then enter required settings in the Time Rule dialog box.
Adding Appointments
To add a new appointment
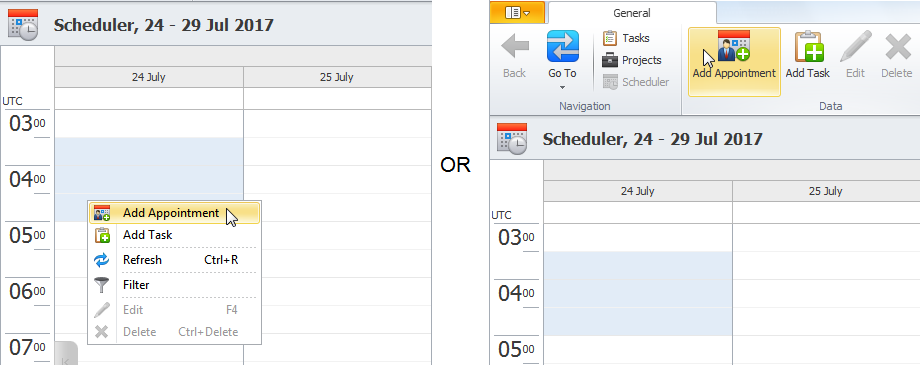
1. Right-click required date and time cell in the Scheduler view, and then click Add Appointment.
2. In the Appointment dialog box, in the Name box, type the name of appointment.
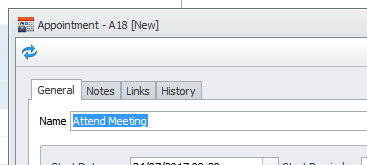
Note You change the Start and Finish Date and Time in the appropriate boxes.
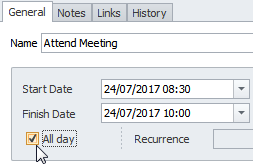
Note If you select the All Day check box, the appointment will be moved to the top of the schedule for particular date.
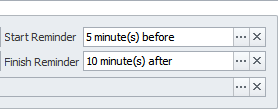
If needed, you can set reminders for appointment in the Start Reminder and Finish Reminder boxes.
If appointment is recurring, you can enter recurrence settings in the Recurrence box.

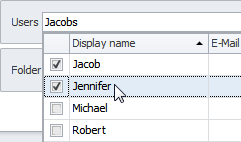
Note You can assign additional users to the appointment in the Users box.
Working with Scheduler view
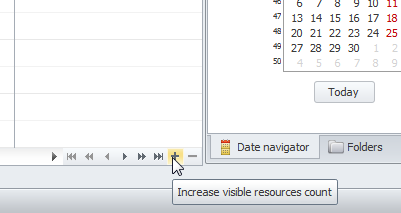
Click Plus (+) at the lower-right corner of calendar view to display other users' calendars.
You can use User Filter to show the schedulers of required users only.

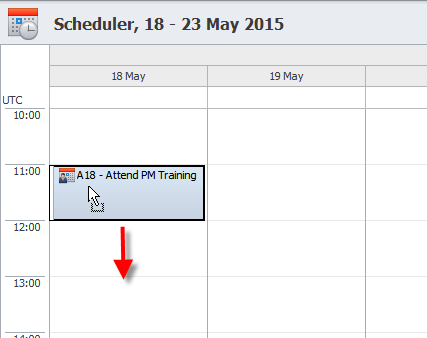
To reschedule existing appointments, drag the appointment to another calendar cell or drag the edge of the appointment to resize it.
Note Bold-formatted dates in the Date Navigator pane mean that appointments and tasks are scheduled for these dates.
You can use filters to display particular appointments in the Scheduler view.

Learn How to Set Filters